DIY - Kraft Framing
While I was away at my place in Corsica, I picked four leafs clovers. They grow in our garden like wheatgrass.
I have been wanting to frame them for a while, I finally did it today.
Here's a crappy iPhone shot step-by-step if you want to do the same !

1 - Place your subject between two bits of glass

4 - Apply the kraft and cut to size

7 - Apply strong glue to where you've marked the spot.

2 - Cut the kraft tape to fit. I bought one that was 4 cm wide, so I split it in two. I wanted a thin framing.

5 - This is how it looks once you've made all 4 four sides.

8 - Place the hook on the glue.

3 - Humidify the tape on the wet sponge. It has a sticky side, that's the side you should be humidifying !

6 - On the back of the frame, mark a spot in the middle.

9 - Strengthen the the hook by applying a strip of kraft tape over it.

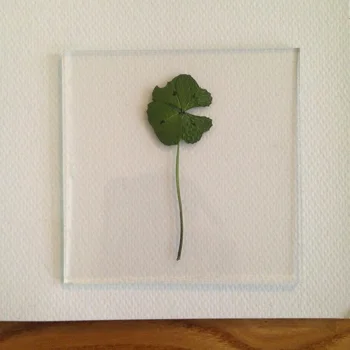
10 - Tada ! Crappy iPhone photos all the way ! Here's how it looks when done !